

Table of Contents
Applying resin flooring over existing tiles is viable in Brisbane when tiles are fully bonded and correctly prepared, eliminating the cost and disruption of demolition. The key risks include hollow tiles, grout line telegraphing, and adhesion failure on glazed surfaces. Epoxy Brisbane assesses tiled floors across Brisbane and installs professional resin systems where the substrate is suitable.
Why Resin on Tile Is Appealing and Where the Risk Lies
The appeal of applying a resin floor over existing tiles rather than removing them first is straightforward. Tile demolition is expensive, time-consuming, dusty, and disruptive. Removing tiles from a Brisbane kitchen, bathroom, or living area typically involves a jackhammer or angle grinder, several days of access disruption, the disposal cost of the tile rubble, and often damage to the concrete substrate beneath that requires repair before any new floor can be installed. If an epoxy or polyurethane resin floor can go directly over the existing tiles, the project saves thousands of dollars and days of disruption.
The risk is that resin floors bond to their substrate at the adhesion interface between the primer and the surface immediately below it. On a concrete substrate, this interface is the opened concrete pore structure that diamond grinding creates. On a tiled substrate, this interface is the tile surface itself. The tile introduces three complicating variables that concrete does not present: the tile’s own adhesion to the concrete below it, which may be compromised or hollow; the glazed tile surface, which must be mechanically profiled to accept primer adhesion; and the grout lines, which create recesses that must be filled flush before the resin system is applied if a smooth finished surface is required.
Assessing Whether Your Brisbane Tiled Floor Is a Suitable Candidate
The Sound Test: Checking for Hollow Tiles
The most important assessment step for a Brisbane tiled floor being considered for resin overlay is the sound test for hollow tiles. Tap each tile systematically with a firm object, such as a solid metal rod or the handle of a screwdriver, and listen for the change in sound between a fully bonded tile, which produces a solid, dense tap sound, and a hollow tile, which produces a distinctly different hollow or ringing sound. Hollow tiles have lost adhesion between the tile and the adhesive mortar below, creating a void that, under load, allows the tile to flex slightly. A resin floor applied over hollow tiles bonds to those tiles and moves with them as they flex under foot traffic, producing delamination and cracking above every hollow tile in the installation.
A small number of isolated hollow tiles in a large floor area can be addressed by removing and re-bonding those specific tiles before the resin preparation proceeds. A floor where multiple tiles or a large contiguous area of tiles sounds hollow is not a suitable candidate for resin overlay. In this case, removing the tiles and moving to a concrete resurfacing approach and applying the resin directly to the concrete below is the option that produces a reliable long-term result. A professional site assessment from Epoxy Brisbane determines which scenario applies to a specific Brisbane tiled floor.
Checking Tile Structural Condition
In addition to the hollow tile check, the tile surface must be structurally sound, without cracking, spalling edges, or broken sections. Cracked tiles flex at the crack line and transfer that movement to any resin system applied above them. The resin above a cracked tile will crack along the same line as the tile below, typically within months of installation. Cracked tiles in the floor must be removed and replaced with sound tiles, or the entire tile layer must be removed, before a resin overlay proceeds. Chipped tile edges at doorways and thresholds create surface discontinuities that are visible in the finished resin floor if not filled and levelled before the resin system is applied.
Identifying Tile Type and Surface Condition
The tile type determines the preparation intensity required for resin adhesion. Unglazed ceramic and unglazed porcelain tiles have an open, slightly porous surface that accepts primer adhesion after cleaning without requiring aggressive mechanical profiling. Glazed ceramic and glazed porcelain tiles have a dense, smooth glaze surface that prevents primer adhesion without mechanical profiling to remove or break through the glaze layer. Polished or rectified porcelain tiles are particularly dense and require diamond grinding to produce the surface profile that primer can penetrate.
Quarry tiles and anti-slip textured tiles present their own preparation challenges. The deep texture profile of some anti-slip tiles requires a significant quantity of grout line filler to build the surface up to a consistent level before the resin system’s primer coat can be applied over a uniform substrate.
The Preparation Process for Resin on Tile in Brisbane
Step One: Surface Cleaning
The tiled floor must be thoroughly cleaned before any mechanical preparation begins. Remove all wax, polish, cleaning product residue, grease, oil, and biological growth from the tile surface. A degreaser applied and rinsed thoroughly addresses residue from cleaning products and cooking area grease. Allow the floor to dry completely before mechanical preparation begins. Any cleaning product residue remaining on the tile surface at the time of primer application reduces adhesion at the primer-tile interface.
Step Two: Mechanical Profiling of Glazed Surfaces
Glazed tile surfaces must be mechanically profiled to break through the glaze and create a surface texture that the primer can bond to. Diamond grinding removes the surface glaze and creates a roughened tile surface with a profile comparable to coarse sandpaper. The grinding also reveals the tile body below the glaze, which is more porous and more receptive to primer penetration than the glaze surface. After grinding, all concrete and tile dust must be vacuumed thoroughly before any product is applied.
An alternative to grinding for larger tiled floor areas is shot blasting, which simultaneously profiles the tile surface and removes loose contamination across the full floor area efficiently. Shot blasting is typically used for larger commercial tiled floors where the grinding approach would be impractical due to area or speed requirements.
Step Three: Grout Line Treatment
The grout lines between tiles must be addressed before the resin primer is applied. The approach depends on the depth and width of the grout lines. Shallow grout lines of less than two to three millimetres depth may be filled with the epoxy primer itself during application, with additional primer applied to build the grout line up to tile surface level. Deeper grout lines require a dedicated filler applied before the primer coat, allowed to cure, and sanded flush with the surrounding tile surface before the primer is applied across the whole floor.
If grout line filling is incomplete and grout lines remain as recesses beneath the resin system, they telegraph through the finished floor surface as visible lines under raking light or as colour variation in the topcoat above them. This telegraphing effect is one of the most common quality issues in inadequately prepared resin-on-tile installations and is entirely preventable with correct preparation discipline.
Step Four: Compatible Primer Application
The primer for a resin-on-tile installation must be specified for tile adhesion rather than the standard concrete primer used for direct-to-concrete applications. Tile-compatible epoxy primers use formulations that bond to the profiled tile surface chemistry rather than requiring the concrete pore penetration that standard primers are designed for. An incorrect primer type on a tile substrate can produce an installation that looks complete but has insufficient adhesion to withstand the thermal cycling and foot traffic loads of a Brisbane residential or commercial floor.
What Resin on Tile Delivers for Brisbane Properties
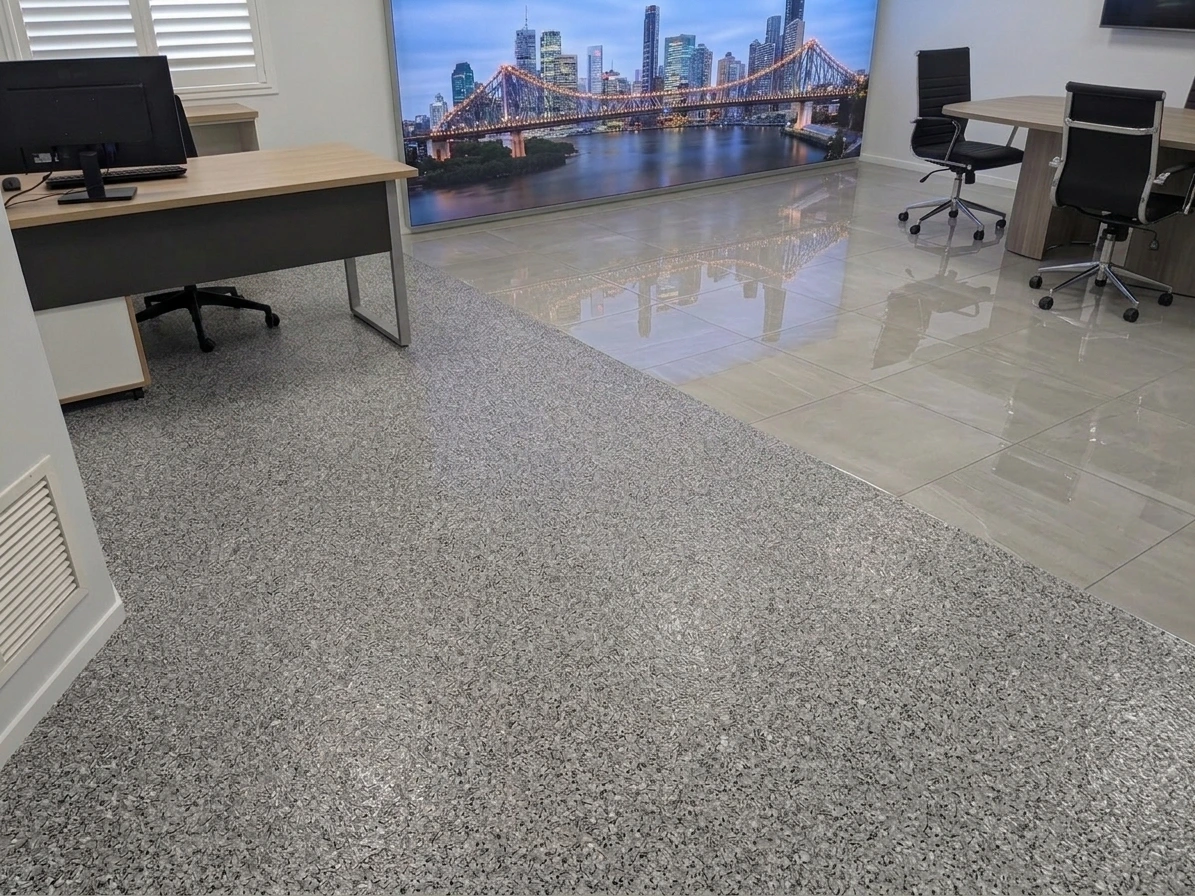
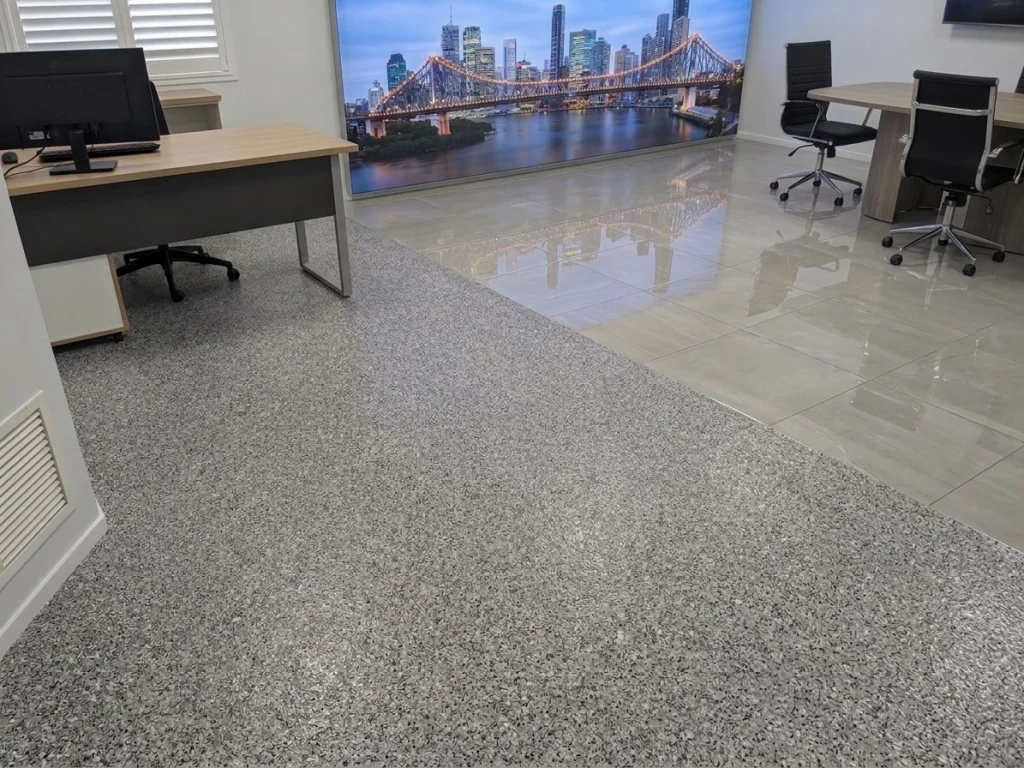
A professionally assessed, prepared, and installed resin floor over tiles in a Brisbane property delivers the same continuous, non-porous, low-maintenance result as a direct concrete installation. The finished floor shows no tile pattern, no grout lines, and no visual evidence of the tiled substrate below it. The surface is continuous and uniform across the entire floor area, including doorway transitions and room junctions where tiles of different ages or colours previously created visible boundaries.
For Brisbane kitchens where the existing tiles are fully bonded, structurally sound, and correctly profiled, resin overlay eliminates the grout lines that accumulate grease, bacteria, and cleaning product residue in Brisbane’s subtropical humidity. The continuous resin surface cleans with a damp mop and pH-neutral cleaner without the scrubbing and resealing that tiled kitchen floors in Brisbane require. The residential flooring service from Epoxy Brisbane covers resin-on-tile assessments and installations for Brisbane kitchens, living areas, and commercial spaces where the tile substrate assessment confirms suitability.
When Resin on Tile Is Not the Right Approach
Several tile substrate conditions make resin overlay the wrong approach for a Brisbane floor. A floor with widespread hollow tiles cannot be made reliable by resin overlay: the tile delamination will progress after installation and produce visible and structural failure in the resin floor above. A floor with multiple cracked tiles that cannot be individually replaced without disturbing adjacent tiles that are also marginal creates a substrate that is fundamentally unstable for resin overlay.
A tiled floor where the tile height significantly exceeds the height of adjacent non-tiled areas, such as a tiled kitchen floor that is flush with adjacent carpet at doorways, may make resin overlay impractical because the additional height of the resin system above the tiles creates a trip hazard at the threshold. In these situations, tile removal and direct concrete application produces a result that addresses the height issue while delivering the same finished floor quality.
When in doubt, a professional site assessment is the correct first step. Tile removal that is recommended after a proper assessment is far less expensive than removing a resin floor that has delaminated from a hollow or cracked tile substrate within the first year of installation. To discuss a resin overlay assessment for your Brisbane tiled floor, contact the Epoxy Brisbane team on 1300 321 433. Examples of completed resin-on-tile transformations are available in the Epoxy Brisbane project gallery.
Frequently Asked Questions
- Can epoxy be applied directly over glazed bathroom tiles in Brisbane?
Yes, but glazed bathroom tiles require more intensive preparation than unglazed tiles. The tile glaze must be mechanically ground or abraded to remove the smooth glaze surface and expose a profile that the tile-compatible primer can bond to. Bathroom tiles must also be fully bonded, as the hollow tile risk is particularly significant in bathroom environments where movement from temperature cycling and moisture exposure is ongoing. Grout lines must be filled flush before the primer is applied. With correct preparation, epoxy over glazed bathroom tiles in Brisbane produces a watertight, continuous surface that addresses the grout mould accumulation that is a persistent challenge for tiled bathrooms in Brisbane’s subtropical humidity.
- Will I be able to see the grout lines through a resin floor on tiles?
Grout lines that have been correctly filled flush with the surrounding tile surface before the primer is applied will not be visible in the finished resin floor. Grout lines that have not been adequately filled will telegraph through as visible lines under raking light or as tonal variation in the topcoat. This is a preparation issue, not a product issue. A resin floor installed by a professional with correct grout line treatment over sound tiles in Brisbane will show a continuous surface without any visible tile grid pattern.
- How does the cost of resin on tile compare to tile removal and concrete epoxy in Brisbane?
Resin on tile in Brisbane is typically less expensive in total project cost than tile removal followed by concrete epoxy installation, because tile demolition, disposal, and any concrete repair required after tile removal all add cost and time to the direct concrete installation. However, if the tile assessment reveals widespread hollow tiles that must be removed before resin overlay can proceed, the cost difference narrows or reverses. The accurate cost comparison requires a site assessment that determines the tile adhesion condition, grout line depth, and preparation scope for the specific floor before either approach can be accurately quoted.
- How long does a resin on tile installation take in Brisbane?
A professional resin on tile installation in Brisbane for a standard residential kitchen or living area of 20 to 40 square metres takes two to three days. Day one covers the sound test assessment, cleaning, mechanical profiling of the tile surface, and grout line filling. Day two covers primer application and body coat with any decorative treatment. Day three covers the polyurethane topcoat application. The floor is ready for light foot traffic 24 to 48 hours after the final topcoat and for full residential use within five to seven days of the completed installation.
Get a Professional Assessment for Resin on Tile in Brisbane
Resin on tile is a practical and cost-effective flooring solution for Brisbane properties where the tile substrate is suitable. The critical difference between a successful and a failed installation is the thoroughness of the assessment and preparation before any resin product is applied. Epoxy Brisbane provides professional QBCC-licensed resin-on-tile assessments and installations across Greater Brisbane and the Moreton Bay region. Call 1300 321 433 or get in touch with the Epoxy Brisbane team to arrange an assessment for your Brisbane tiled floor.
Key Takeaways
- Resin on tile is viable when tiles are fully bonded, structurally sound, and correctly profiled. It is not viable over hollow, cracked, or multiply-deficient tile substrates.
- The sound test for hollow tiles is the first and most important assessment step. Hollow tiles delaminate and transfer failure to the resin floor above them.
- Glazed tiles require mechanical grinding or shot blasting to remove the glaze before tile-compatible primers can adhere.
- Grout lines must be filled flush before primer is applied. Unfilled grout lines telegraph through the finished surface as visible lines.
- The primer for tile substrates must be specified for tile adhesion, not standard concrete primer formulation.
- When tile condition makes overlay unreliable, tile removal and direct concrete application is the correct approach.
